
WooCommerce checkout is the final step of an online shopping journey where customers enter their details, select shipping options, choose a payment method, and place an order. A well-designed WooCommerce checkout page makes this process easier by reducing unnecessary steps, displaying clear pricing, and providing convenient payment options. Whether you run a small online store or a growing eCommerce business, optimizing your checkout experience can help customers complete purchases with fewer difficulties.
In this guide, you’ll learn how to set up, customize, and optimize WooCommerce checkout, understand its different checkout options, and fix common problems.
Table of Contents
ToggleWhat Is WooCommerce Checkout?
WooCommerce checkout is a built-in feature of the WooCommerce plugin that allows customers to complete purchases on a WordPress website. It collects essential information, including billing details, shipping addresses, and payment information.
For example, imagine a customer purchasing a pair of shoes from your online store. After adding the product to their cart, they visit the checkout page, enter their delivery address, select a shipping method, and choose a payment option. Once they confirm the order, WooCommerce processes the checkout and creates an order in the store’s administration dashboard.
A standard checkout process includes:
- Customer contact information.
- Billing and shipping details.
- Available shipping methods.
- Payment options.
- Order summary and total price.
- Order confirmation.
WooCommerce provides different ways to manage this experience, including its modern Checkout Block and the traditional shortcode-based checkout.
How to Set Up a WooCommerce Checkout Page
WooCommerce normally creates essential store pages during its initial setup, including the Cart and Checkout pages. However, you should confirm that the correct page is assigned before accepting customer orders.
Follow these steps:
- Log in to your WordPress dashboard.
- Navigate to WooCommerce > Settings.
- Open the Advanced tab.
- Find the Page setup section.
- Select your preferred page under the Checkout page option.
- Save your changes.
If your store does not have a checkout page, create a new page from Pages > Add New and insert the appropriate checkout content.
Using the WooCommerce Checkout Block
The Checkout Block is WooCommerce’s modern block-based checkout experience. It allows store owners to arrange and customize supported checkout elements through the WordPress block editor without manually writing code.
To use it:
- Open your Checkout page in the WordPress editor.
- Remove the existing checkout shortcode if you are replacing the classic version.
- Open the block inserter.
- Search for the WooCommerce Checkout block.
- Add the block to your page.
- Review its settings and layout.
- Save the page and test the checkout process.
The block contains two main sections: Checkout Fields and Checkout Totals. Customers use the first section to enter their information, while the second displays their order summary, coupons, and pricing details.
However, check whether your payment gateways and other checkout extensions support the block before switching an established store.
Using the Classic Checkout Shortcode
The classic checkout uses a shortcode to display the traditional WooCommerce checkout form.
The shortcode is:
[woocommerce_checkout]
To add it, open your WordPress Checkout page, insert a Shortcode block, paste the shortcode, and publish or update the page.
This approach can be useful when an existing store depends on older checkout extensions or customizations that are not compatible with Checkout Blocks.
Before changing checkout types, back up your website and test the new setup on a staging site.
How to Customize WooCommerce Checkout
A default checkout page may contain more information than your customers actually need. Customizing its layout and fields can make the process easier to understand.
WooCommerce provides built-in editing options, while additional customization may require compatible extensions or developer work.
Edit Billing and Shipping Fields
Billing and shipping fields collect information needed to process orders and deliver products. Common fields include:
- First and last name.
- Email address.
- Phone number.
- Street address.
- City and ZIP code.
- State and country.
Consider whether every field is necessary for your products and business model. For example, a company name may be unnecessary for customers purchasing individual products.
With Checkout Blocks, supported address fields can be managed through the block settings. You can adjust the visibility of company name, address line 2, and phone fields, and choose whether visible fields are optional or required.
For the classic checkout, WooCommerce provides certain field settings through its Customizer. More advanced changes may require a compatible checkout field extension or custom development.
Add Payment and Shipping Options
Payment and shipping options are important parts of the checkout experience.
WooCommerce supports payment integrations that allow customers to pay using available methods such as credit cards, digital wallets, and other supported payment services.
You can configure payment methods through WooCommerce > Settings > Payments.
For shipping, navigate to WooCommerce > Settings > Shipping and configure shipping zones and methods according to the locations you serve.
Make sure customers can understand the available delivery options and their costs before placing an order. Also, verify that each payment gateway works correctly with your selected checkout type.
7 Ways to Optimize WooCommerce Checkout
Improving checkout is not just about changing its appearance. Store owners should focus on usability, transparency, functionality, and performance.
Here are seven practical ways to improve the experience.
1. Simplify Checkout Forms
Long checkout forms can make purchasing unnecessarily complicated. Ask customers only for information that your business actually needs.
For example, if your store sells downloadable products, you may not need to collect a shipping address.
Review your existing fields and remove unnecessary information wherever possible. Keep essential fields clearly labeled so customers understand what they need to enter.
2. Enable Guest Checkout
Some customers prefer purchasing without creating an account. WooCommerce allows store owners to enable guest checkout through its account and privacy settings.
To configure it:
- Open WooCommerce settings.
- Navigate to Accounts & Privacy.
- Find Guest checkout options.
- Enable the option that allows customers to place orders without an account.
- Save your changes.
You can still offer account creation as an optional choice. This gives returning customers an opportunity to register without making registration a requirement for every purchase.
3. Offer Trusted Payment Methods
Customers should have convenient payment options when completing their orders.
Depending on your country and payment provider, you may offer card payments, digital wallets, bank transfers, or other supported methods.
Choose payment gateways that work with your business requirements and checkout type. Display clear payment instructions and avoid activating methods that your business cannot properly support.
4. Improve Mobile Checkout Experience
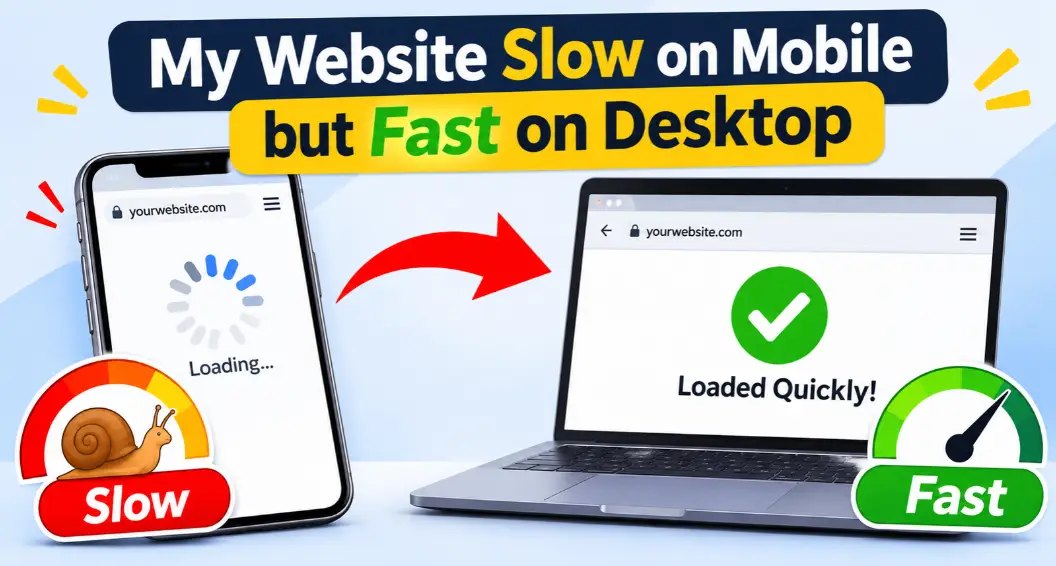
Many customers browse online stores using smartphones. A checkout page that works well on a desktop may still be difficult to use on a smaller screen.
Test your checkout page on different mobile devices. Make sure form fields are easy to select, buttons are visible, and text is readable without excessive zooming.
Also, check that the order summary and payment options remain accessible throughout the process.
5. Display Shipping Costs Clearly
Unexpected delivery charges can create confusion during checkout.
Configure shipping methods so customers can understand the available delivery choices and their costs before submitting an order.
For example, you could provide standard shipping and an optional expedited delivery service. Clearly explain any conditions attached to free shipping, such as a minimum order amount.
Transparent pricing helps customers make informed decisions.
6. Improve Checkout Page Loading Performance
A slow checkout page can make it harder for customers to complete purchases, particularly when they are using mobile connections.
Start by optimizing images, reducing unnecessary scripts, and keeping your WordPress plugins updated.
Use reliable hosting and configure caching carefully. Some caching rules that work for ordinary website pages should not be applied to dynamic cart and checkout pages because they may interfere with customer sessions or order information.
Test your checkout after making performance changes to ensure that payment and order processing still work correctly.
7. Test the Complete Checkout Process Regularly
Never assume that your checkout works correctly simply because the page loads.
Perform test purchases to check the entire customer journey, including:
- Adding products to the cart.
- Entering billing and shipping information.
- Applying discount coupons.
- Selecting shipping methods.
- Completing test payments.
- Receiving order confirmation emails.
Use your payment gateway’s test mode when available. Also, review the WooCommerce order dashboard to confirm that test transactions are recorded correctly.
Common WooCommerce Checkout Problems and Fixes
Even a properly configured store can experience checkout problems after plugin updates, theme changes, or payment gateway configuration changes.
Here are some common issues and ways to troubleshoot them.
| Checkout problem | Possible solution |
| Checkout page not loading | Check page assignment, plugins, and theme compatibility. |
| Payment gateway error | Review gateway settings and payment credentials. |
| Checkout button not working | Check JavaScript errors and plugin conflicts. |
| Shipping methods missing | Review shipping zones, locations, and product settings. |
| Checkout fields missing | Review block settings or classic checkout customization. |
Checkout page not loading: Confirm that the correct page is assigned under WooCommerce settings. Then check for conflicting plugins and theme-related issues.
Payment gateway errors: Verify that the payment gateway is active, its credentials are correct, and the integration supports your checkout type. Review the gateway’s error logs when available.
Checkout button not working: Temporarily test with a default WordPress theme and disable non-essential plugins on a staging website. Check browser console errors and JavaScript conflicts.
Shipping methods missing: Review your shipping zones, customer delivery address, and shipping method configuration. Also confirm that the products in the cart require shipping.
Checkout fields missing: Check the Checkout Block settings or the relevant classic checkout field configuration. Some extensions support only one checkout type.
Avoid making changes directly on a live store without a backup. If the issue continues, contact your hosting provider, payment gateway, or WooCommerce developer.
Conclusion
WooCommerce checkout plays an important role in how customers complete purchases on your online store. A simple form, clear shipping costs, suitable payment options, and a mobile-friendly layout can make the shopping experience easier.
Start by reviewing your checkout fields, testing guest checkout, and checking compatibility between your payment gateways and checkout system. Regular testing and website maintenance can also help identify problems before they affect customers.
If you need help improving your online store, TechishWeb provides WordPress development, website optimization, technical SEO, and website maintenance services to help businesses build and manage better websites.
Frequently Asked Questions
1. How Do I Create a Checkout Page in WooCommerce?
Go to Pages > Add New in WordPress and insert the WooCommerce Checkout Block. Alternatively, add the [woocommerce_checkout] shortcode for classic checkout. Then assign the page under WooCommerce > Settings > Advanced.
2. Can I Customize the WooCommerce Checkout Page?
Yes. You can customize supported checkout elements using the WordPress block editor. Additional changes, such as advanced field modifications or conditional checkout options, may require compatible extensions or custom development.
3. How Do I Enable Guest Checkout in WooCommerce?
Open WooCommerce > Settings > Accounts & Privacy. Find the Guest checkout section, enable the option allowing customers to place orders without an account, and save your settings.
4. Why Is My WooCommerce Checkout Not Working?
Common causes include plugin conflicts, incorrect payment gateway settings, theme compatibility issues, JavaScript errors, and shipping configuration problems. Check your website logs and test possible conflicts on a staging site.