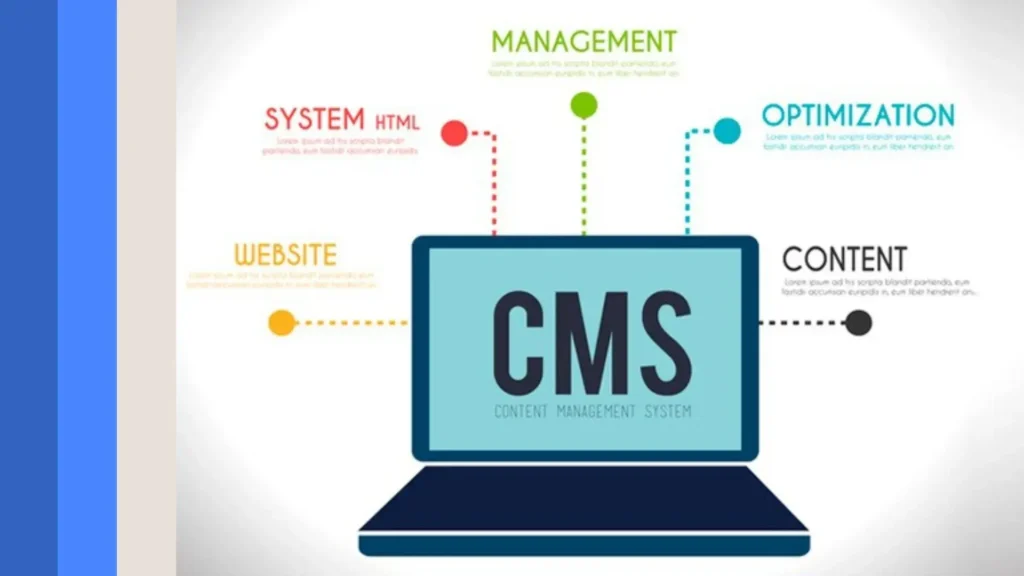
Setting up a Content Management System (CMS) is just the very crucial step a webmaster seeks in order to create and manage a website with ease. In other words, the work of building, updating, and maintaining websites is made easier with the Content Management System CMS, even for people who have minimal technical expertise.
This Guide will take you through the steps involved in installing a Content Management System CMS; popular examples used will include WordPress, Joomla, and Drupal. Whether you are a novice or an experienced user, this guide will put you in possession of all the information you require to get up and running.
What is a Content Management System CMS?
A Content Management System, or CMS, is software that provides a user with ways to create, administer, and change digital content on a website devoid of needing knowledge in special code. Using such a system ensures that one maintains a professional-type website without necessarily getting into the intricacies of HTML, CSS, and JavaScript. Of course, popular web CMS platforms used today include the following:
WordPress: It is very user-friendly and with a wide range of plugins, it hosts over 40% of websites around the world.
Joomla: More flexible and thus more suited to big and complex sites that may be loaded with many features.
Drupal: It is a powerful and expandable system that is preferred by large organizations and major enterprise websites.

Prerequisites for Installing a Content Management System CMS
Just before starting, make sure of the following:
Web hosting service: Choose a good web host that offers seamless and smooth support for the installation of a content management system. Hosting services are the backbone since your site stores server resources there, be it Bluehost, SiteGround, HostGator, or DreamHost.
If you’re unsure, read our guide on How to Choose the Right Web Hosting Provider.
Domain name: Purchase from a registrar like GoDaddy, Namecheap, or Google Domains. A domain is the address by which your website is known on the Internet.
Server requirements: If your CMS requires a specific version of PHP or a particular MySQL database, for example, ensure your host can accommodate that, as well as the amount of disk space used.
FTP client (optional): FileZilla or Cyberduck will enable you to transfer files to your web server when necessary.
CMS installation package: Download the most current version of your chosen CMS from one of the official resource websites. This might sound like a small step, but it’s crucial to keep this edition up to date and secure.
Step-by-Step Guide to Installing a Content Management System CMS
Choose and Download Your CMS
To get the installation files for the CMS you want, go to its official page. These files have everything you need to show your new website visually:
- WordPress: https://wordpress.org/
- Joomla: https://www.joomla.org/
- Drupal: https://www.drupal.org/
Set Up a Hosting Environment
- Option A: On a Local Server for Testing
Setting up a local server on your computer is easy. Just get tools like XAMPP, WAMP, or MAMP. This is a great way to improve your site before putting it online. Set up the server so that it works with your CMS. This includes setting up PHP and MySQL. - Option B: Utilize a Web Hosting Service (for Live Websites)
To handle your hosting environment, log in to your hosting account and go to the cPanel or a similar control panel.
Create a Database
A database is what most content management systems (CMS) use to store website-related data like content, user information, and settings.
- Go to the Database part of your hosting control panel, such as phpMyAdmin.
- Make a new database and write down the name of the database, the login, and the password. These facts will come in handy during the installation.
Upload CMS Files
- Using File Manager: Use the file manager that comes with your hosting service to send the CMS files directly to your server.
- Using FTP: use an FTP program like FileZilla to connect to your server and move the CMS files to the directory you want (for example, public_html for your main domain).
5. Start the Installation Process
To start the CMS installation wizard, open a web browser and go to your name. The wizard walks you through each step, making the process easier.
Example: WordPress Installation
- Go to the website http://yourdomain.com.
- Pick the language you want to use and click “Continue.”
- Type in the database passwords that you made earlier.
- Click “Install” to start the process.
- Give information about the site, like its name, manager username, password, and email address.
- Once everything is set up, go to your WordPress homepage and start making changes to your site.
6. Customize Your Content Management System CMS
Once your CMS is set up, you can change it to fit the goals and style of your website. Important steps for customizing are:
- Choose a Theme or Template: Pick a design template that fits the goal and audience of your website.
- Adding Plugins or Extensions: Add features like contact forms, SEO tools, or e-commerce options to make your site more useful.
- Setting up core settings: Change things like the site title, address structure, timezone, and security settings.

Troubleshooting Common Issues
Database Connection Errors:
- If you get a database connection error, check your database passwords again and make sure the database server is up and running.
- Make sure that your server service can handle the database needs of the CMS.
Problems with File rights:
- Use cPanel or an FTP client to change the rights on files so the CMS can read and write to them.
Problems with PHP Compatibility:
- To fix this, update your PHP version in the server control panel so that it works with the CMS. If you need to, check with your server company.
Advanced Tips for Content Management System CMS Installation
- Secure Your CMS:
- Use strong passwords for admin accounts and avoid using usernames like “admin.”
- Set up a security tool, such as Admin Tools for Joomla or Wordfence for WordPress.
- For secure connections, enable HTTPS with an SSL certificate.
- Optimize Performance:
- A caching plugin will make your page load faster, providing a better experience for users.
- Edit pictures to reduce file sizes without compromising quality.
- Allow a Content Delivery Network (CDN) to efficiently deliver information to various regions.
- Backup Your Site:
- Use plugins like UpdraftPlus for WordPress or Akeeba Backup for Joomla to regularly back up your site. Backups help safeguard against data loss caused by errors or security vulnerabilities.
- Monitor and Update:
- Regularly update your Content Management System CMS, themes, and plugins to close security gaps and ensure compatibility with new features.
- Monitor site performance and uptime using tracking tools.
Conclusion
Setting up a Content Management System CMS is quite easy and exciting since it bestows upon the user all the necessary means to create dynamic, interestingly active websites.
A Content Management System will grant you both the tools and the independence to manage, shape, and communicate your online presence effectively—whether you are new to blogging, opening your online store, or building a professional website.
Having hosting, database configuration, and customization done right means you can come up with a fully functional website ready to inspire your audience. Keeping it secure, maintaining, and regularly optimizing will help ensure your CMS does its job well and serves long.


